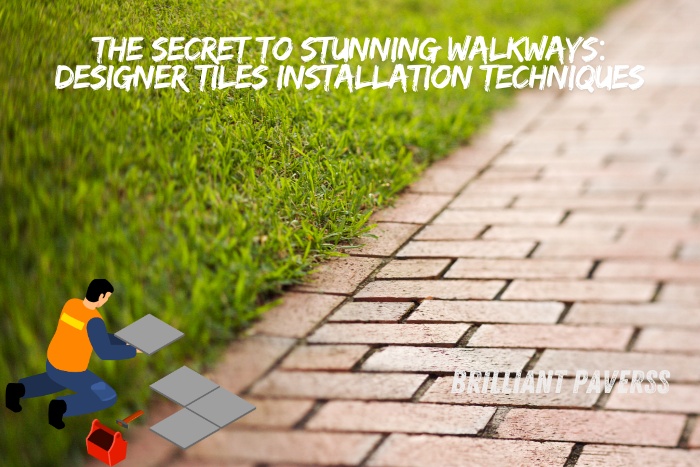
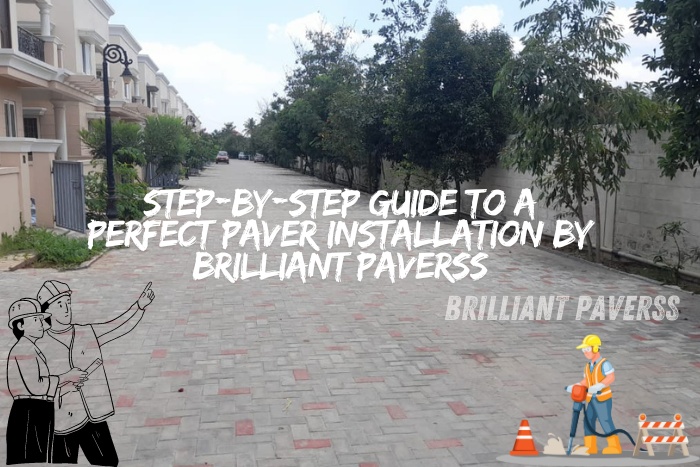
One of the key characteristics of any outdoor area is its walkway. They add a great deal to the landscape’s overall visual appeal in addition to serving a utilitarian purpose. Adding decorative tiles to pathways is a great way to combine aesthetics and functionality. Based in Coimbatore, Brilliant Paverss is an expert in creating gorgeous paths out of premium designer tiles. In this article, we’ll provide the insider tips for using the proper installation methods to create pathways that are stunning, long-lasting, and polished.
By the time you finish reading, you’ll understand the essential steps to create long-lasting walkways that will leave your visitors in awe, and why Brilliant Paverss is the go-to choice for your walkway needs in Coimbatore.
1. Why Designer Tiles Are Perfect for Walkways
Before diving into the installation techniques, it’s essential to understand why designer tiles are an ideal choice for walkways.
Advantages of Designer Tiles for Walkways:
- Durability: Designer tiles are a sturdy choice for outdoor use since they can tolerate foot activity, weather fluctuations, and wear.
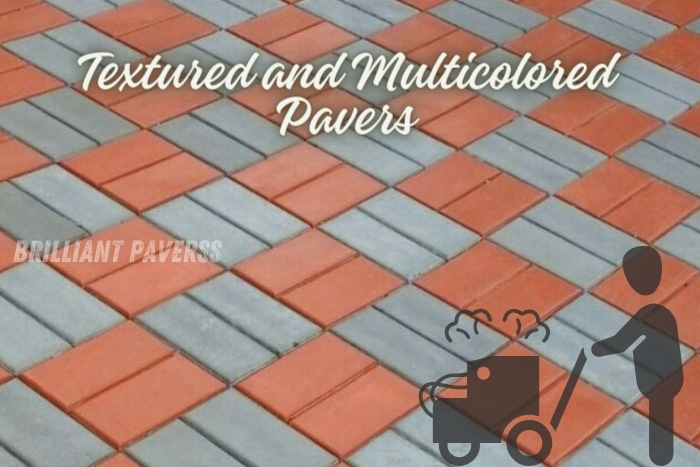
- Aesthetic Appeal: Designer tiles, which come in an array of hues, patterns, and textures, provide countless design options to complement any aesthetic.
- Low Maintenance: Because of how simple it is to clean and maintain these tiles, pathways can appear immaculate with little work.
- Slip-Resistance: Many designer tiles are made with textured surfaces, reducing the risk of slipping, especially in wet conditions.
At Brilliant Paverss in Coimbatore, we offer a wide range of designer tiles that cater to different design tastes and functional requirements, ensuring that your walkways are not only beautiful but also built to last.
2. Preparing the Base: The Foundation of a Great Walkway
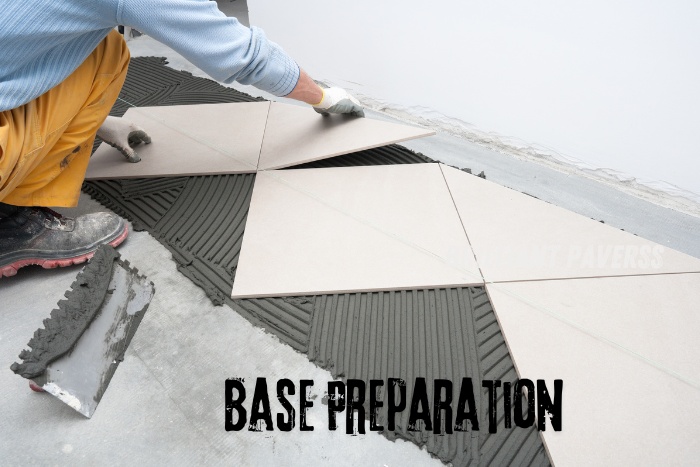
The key to a long-lasting and visually appealing walkway lies in proper base preparation. The base forms the foundation for your designer tiles, so it’s crucial to ensure it’s well-prepared before laying the tiles.
Steps for Base Preparation:
- Excavation: Start by excavating the area where the walkway will be installed. The depth of the excavation should be around 6 to 8 inches, depending on the expected foot traffic and soil conditions.
- Compaction: Once the excavation is complete, compact the soil to create a stable foundation. A compacted base prevents future shifting or sinking of the tiles.
- Adding a Sub-Base: A sub-base, usually made of crushed stone or gravel, is then added and compacted again. This layer helps with drainage and adds further stability.
- Leveling: Ensure the surface is level and slightly sloped to allow for water runoff, preventing water from pooling on your walkway.
Proper base preparation is a critical step that often gets overlooked, but at Brilliant Paverss, we ensure that every project in Coimbatore starts with a strong foundation for long-lasting results.
3. Choosing the Right Designer Tiles for Your Walkway
Designer tiles come in many different materials, shapes, and sizes. The type of tile you choose for your walkway can significantly impact the overall look and functionality of the space.
Popular Designer Tile Materials for Walkways:
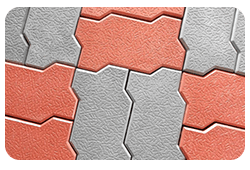
- Concrete Tiles: Durable and affordable, concrete tiles are an excellent choice for high-traffic areas.
- Natural Stone Tiles: For a more luxurious look, natural stone tiles like granite, slate, and sandstone offer unique textures and colors.
- Porcelain Tiles: These tiles are highly durable, low-absorption, and available in various designs, making them perfect for walkways exposed to the elements.
Considerations for Tile Selection:
- Climate: If your walkway is in an area prone to heavy rain or frost, choose tiles that are frost-resistant and non-slip.
- Design Style: Match the tile design with your overall landscape or building’s architecture. Whether you want a rustic, modern, or traditional look, designer tiles offer endless options.
- Color: Lighter colors can make a small area look more spacious, while darker tiles hide dirt and wear better in high-traffic areas.
At Brilliant Paverss, we help customers in Coimbatore select the perfect designer tiles for their walkways, ensuring both functionality and aesthetics are met.
4. Essential Tools for Tile Installation
Once you’ve chosen your designer tiles, it’s time to gather the necessary tools for the installation. Having the right tools is crucial for ensuring a smooth, professional job.
Must-Have Tile Installation Tools:
- Trowel: For spreading mortar or adhesive onto the base.
- Rubber Mallet: Used for tapping tiles into place without causing damage.
- Tile Spacers: To maintain consistent spacing between tiles for a uniform appearance.
- Level: Ensures the tiles are even and properly aligned.
- Tile Cutter: For making precise cuts to fit tiles around edges or obstacles.
- Grout Float: Used for spreading grout between the tiles.
With the right tools and a detailed plan, Brilliant Paverss ensures that every tile installation project in Coimbatore runs smoothly from start to finish.
5. Laying the Tiles: Precision is Key
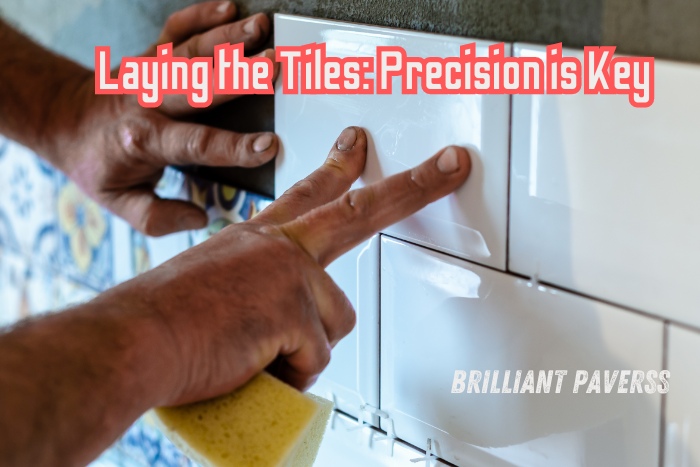
Now comes the most important step: laying the tiles. Precision during this phase ensures your walkway looks polished and professional.
Step-by-Step Tile Laying Process:
- Mark the Layout: Before placing any tiles, mark the layout of the walkway to ensure correct alignment.
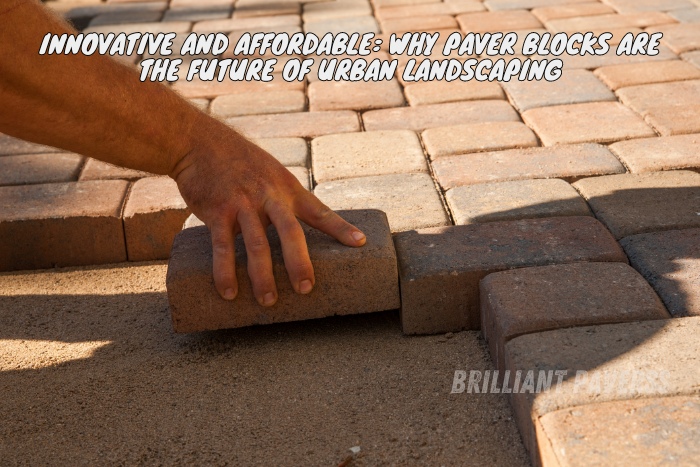
- Apply Adhesive or Mortar: Using a trowel, spread a layer of mortar or tile adhesive evenly across the sub-base. Ensure the adhesive covers only a small area at a time to prevent it from drying out before the tiles are laid.
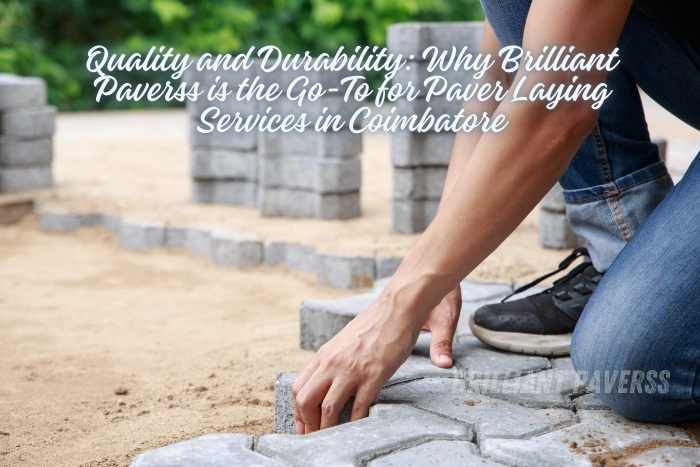
- Place the Tiles: Starting from one corner, place the tiles carefully on the adhesive. Use tile spacers to ensure consistent gaps between tiles.
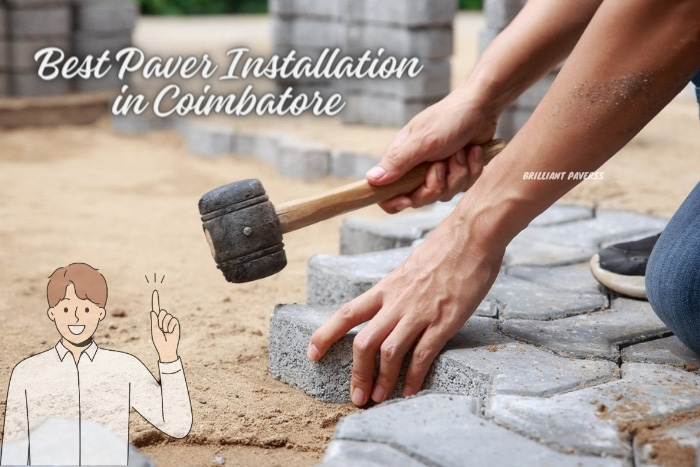
- Tap Gently: Use a rubber mallet to tap the tiles lightly into place, ensuring they are level with each other.
- Continue Laying: Continue laying the tiles row by row, regularly checking that they are level and aligned.
At Brilliant Paverss, we pride ourselves on the precision of our installations, ensuring that every tile is perfectly placed to create a flawless walkway for our clients in Coimbatore.
6. Grouting the Tiles: The Finishing Touch
Once the tiles are laid, the next step is to apply grout. Grout fills the gaps between the tiles, providing both structural integrity and a clean, finished look.
How to Grout Your Walkway:
- Mix the Grout: Follow the manufacturer’s instructions to mix the grout to the right consistency.
- Apply the Grout: Use a grout float to apply the grout, pressing it into the joints between the tiles.
- Wipe Off Excess: After applying the grout, wipe off any excess with a damp sponge. Be sure not to remove grout from between the tiles.
- Allow to Set: Give the grout enough time to set and harden, typically 24 to 48 hours, before walking on the tiles.
Grouting is the final step in creating a stunning, well-finished walkway. At Brilliant Paverss, we use top-quality grouting materials to ensure lasting beauty and strength for walkways in Coimbatore.
7. Sealing the Tiles for Longevity
Sealing your walkway’s tiles is essential for protecting them against stains, water damage, and wear. A good sealer also enhances the colors and textures of the designer tiles.
Benefits of Sealing Designer Tiles:
- Protection from Stains: Sealing prevents oils, dirt, and other contaminants from penetrating the tiles.
- Water Resistance: A good sealer reduces water absorption, preventing damage from freeze-thaw cycles.
- Enhanced Appearance: Sealing enhances the natural colors of the tiles, making your walkway look even more vibrant and beautiful.
At Brilliant Paverss, we offer sealing services as part of our complete installation package to ensure your walkway in Coimbatore stands the test of time.
8. Maintaining Your Designer Tile Walkway
Once your walkway is installed, keeping it in top shape requires minimal effort. Designer tiles are low-maintenance, but a few simple steps can keep them looking beautiful for years.
Maintenance Tips:
- Regular Sweeping: Sweep the walkway regularly to remove dirt and debris that can cause staining or scratches.
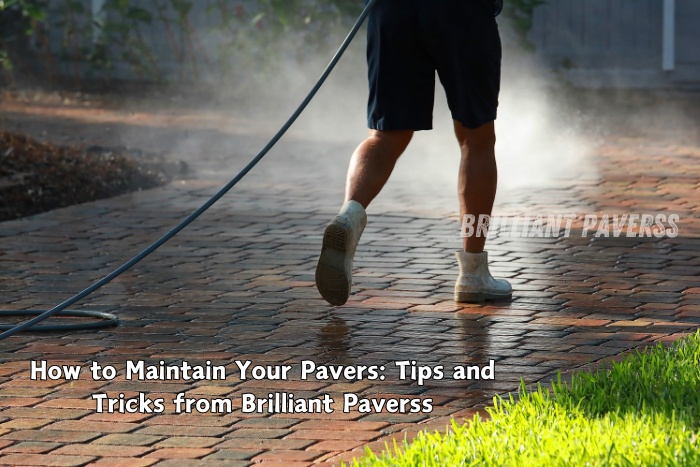
- Power Washing: Occasionally, power wash the tiles to remove stubborn dirt or algae buildup.
- Resealing: Depending on the exposure and usage, reseal your tiles every few years to maintain their protective layer.
- Replace Damaged Tiles: If any tiles become damaged, they can be easily replaced without disturbing the entire walkway.
At Brilliant Paverss, we provide maintenance tips and services to all our clients in Coimbatore to help them preserve the beauty and functionality of their tile walkways.

Conclusion: Transform Your Walkway with Brilliant Paverss
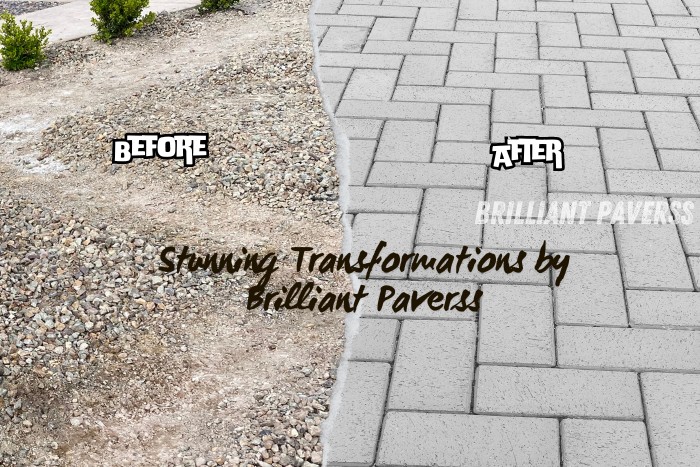
Creating a stunning walkway using designer tiles is more than just a landscaping project; it’s an investment in the beauty and value of your property. From proper base preparation to choosing the right tiles and mastering installation techniques, every step is crucial for achieving long-lasting results.
At Brilliant Paverss, we are committed to providing the best designer tile solutions in Coimbatore. Whether you’re a homeowner looking to enhance your garden path or a business owner wanting to make a grand entrance, our expert team will guide you through every step of the process to ensure your walkway is nothing short of stunning.
Contact Brilliant Paverss Today!
Looking to transform your walkway? Contact Brilliant Paverss in Coimbatore today for top-notch designer tile solutions and professional installation services. Let us help you create the perfect walkway that will leave a lasting impression!

