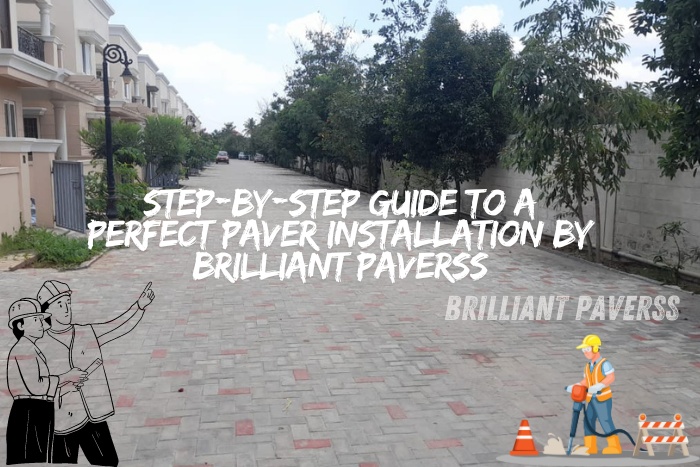
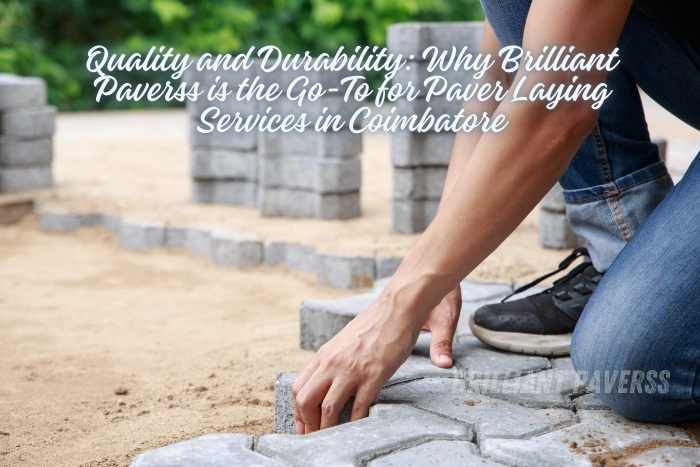
When it comes to creating a stunning and durable pathway, driveway, or patio, nothing beats the beauty and reliability of pavers. At Brilliant Paverss in Coimbatore, we understand that paver installation can be overwhelming for many homeowners. That’s why we’ve put together this comprehensive step-by-step guide, ensuring your paver project is a success from start to finish.
Understanding the Basics: What You Need to Know Before Starting
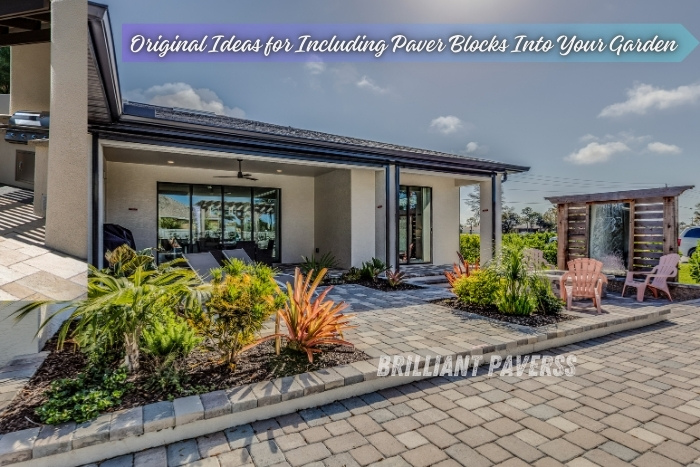
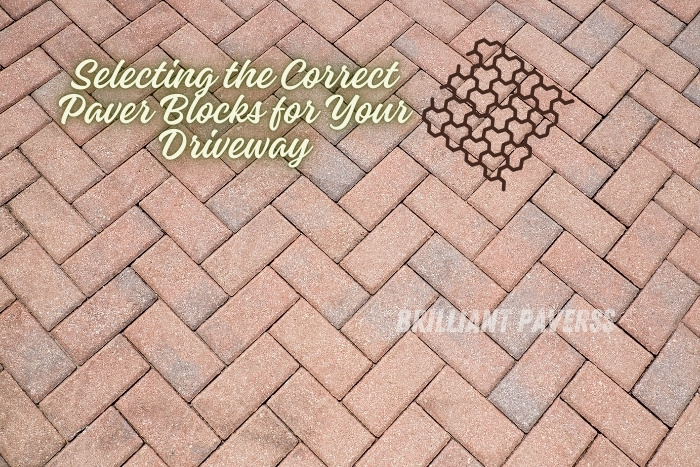
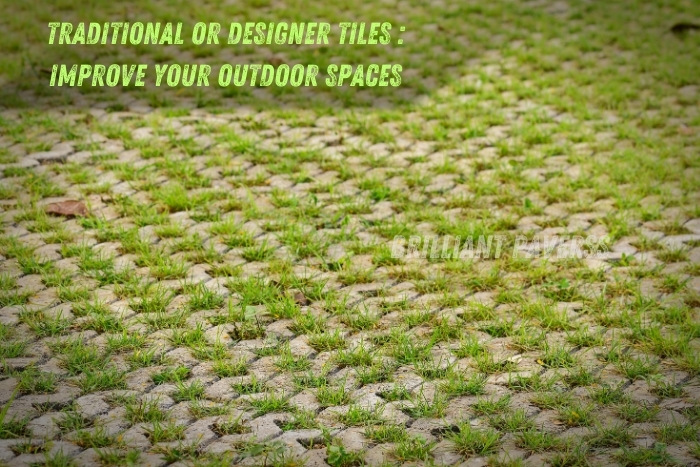
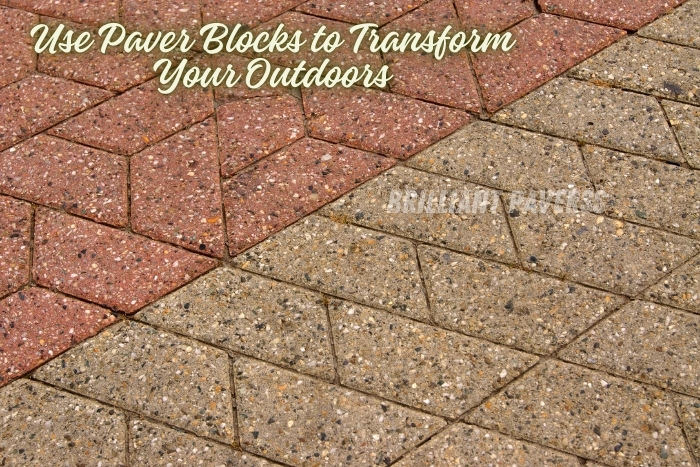
Before diving into the world of paver installation, it’s crucial to understand the fundamentals. Pavers are a popular choice for outdoor spaces due to their aesthetic appeal and longevity. Choosing the right type of paver, from designer tiles to classic terracotta blocks, can dramatically affect the appearance and functionality of your finished project.
Step 1: Planning and Design
Measure Your Space:
Calculate the total area where the pavers will be installed. This will help in estimating the amount of materials needed, including pavers, base material, and sand.
Choose Your Pavers:
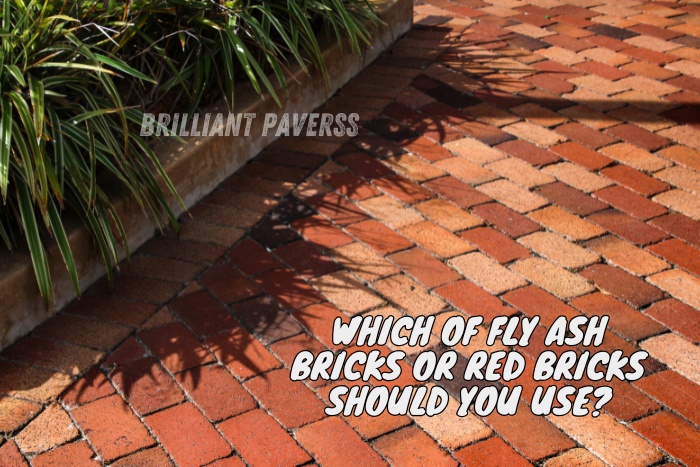
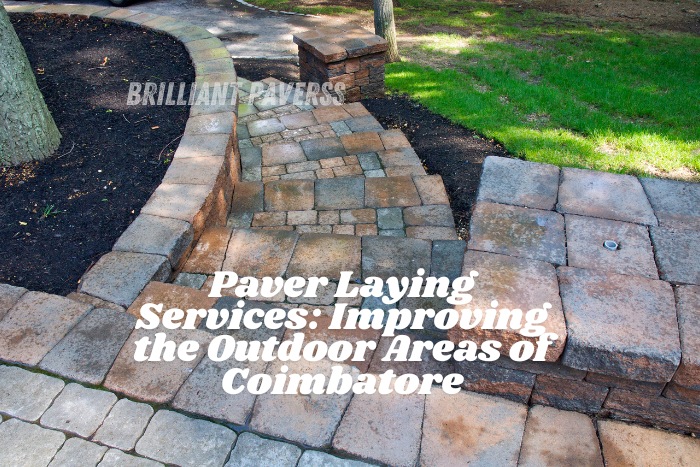
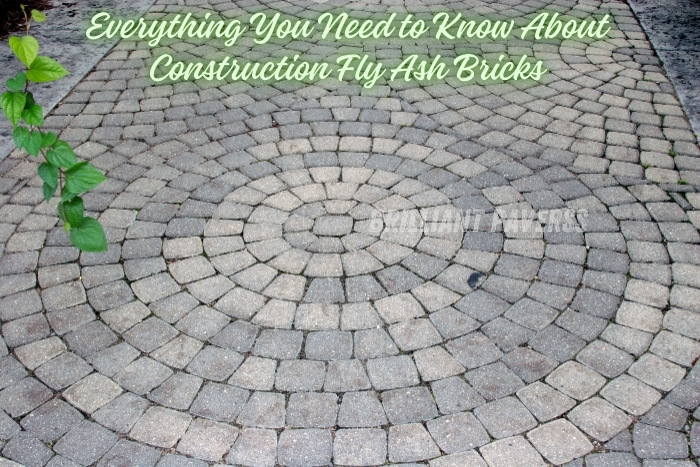
Select the style, shape, and color of the pavers based on your personal preference and the design aesthetics of your home. At Brilliant Paverss, we offer a wide range of options from high-quality fly ash bricks to luxurious Terracon tiles.
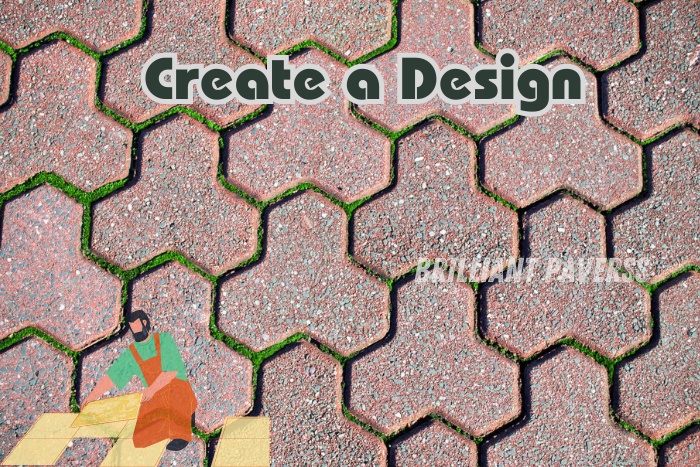
Create a Design:
Sketch out a design or pattern for the layout of your pavers. Consider using a combination of different sizes or colors to create a unique, visually appealing pattern.
Step 2: Preparing the Site
Clear the Area:
Remove any existing pavement, grass, or debris. Ensure the site is free from vegetation and other organic materials as these can cause unevenness as they decompose.
Excavate:
Dig to the appropriate depth, typically 7 to 9 inches below the final surface level, to accommodate the base, sand, and pavers. Ensure the area slopes (about 1% incline) for proper drainage.
Compact the Soil:
Use a plate compactor to compact the soil in the excavated area, which helps prevent the ground from settling unevenly later.
Step 3: Laying the Base
Add the Base Material:
Lay down a base layer of crushed stone or road base material. This layer should be about 4 to 6 inches thick, depending on your project needs.
Compact the Base:
Thoroughly compact the base material using a plate compactor. Multiple passes may be necessary to achieve a solid, stable base.

Step 4: Edge Restraints
Install Edge Restraints:
Edge restraints keep the pavers from shifting over time. They can be made of metal, plastic, or precast concrete.
Secure the Restraints:
Fix the edge restraints in place with spikes, ensuring they are flush with the desired height of the pavers.
Step 5: Sand Bedding
Apply Bedding Sand:
Spread a layer of fine sand over the compacted base to a depth of about 1 to 1.5 inches. Use a straight edge to smooth and level the sand.
Step 6: Laying Pavers
Start Laying Pavers:
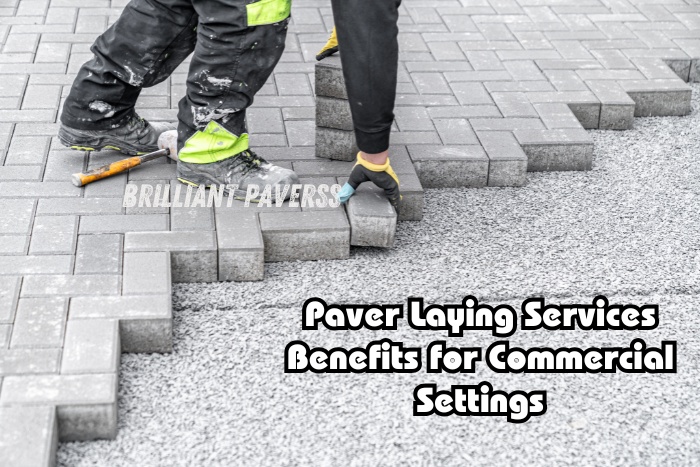
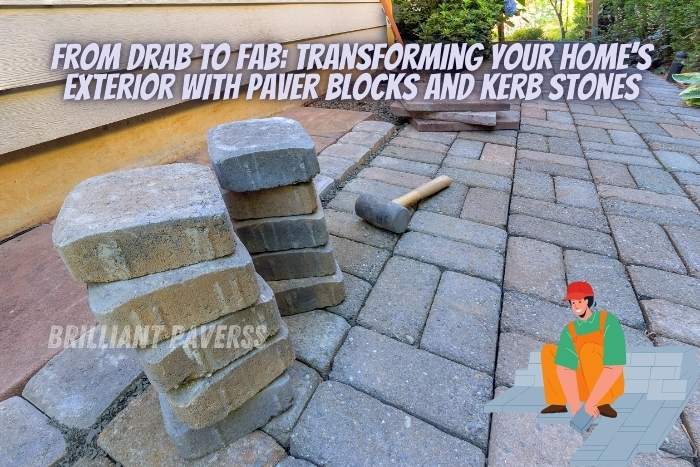
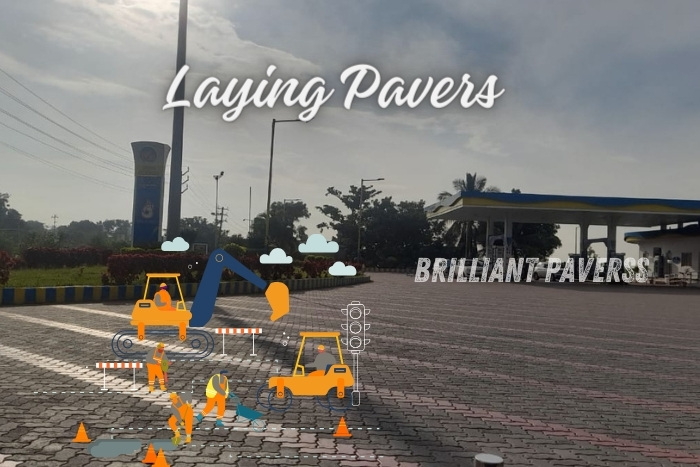
Begin from a corner or edge and lay the pavers on the sand bed. Place them according to the pattern you’ve chosen, ensuring they fit snugly together.
Cut Pavers as Needed:
Use a wet saw or paver splitter to cut pavers to fit your layout, especially near borders or obstacles.
Check for Level:
As you install the pavers, use a level to check that they are flat and even. Adjust by adding or removing sand underneath as necessary.
Step 7: Sand Joints
Spread Joint Sand:
Once all the pavers are installed, spread fine sand over the surface, and use a broom to sweep the sand into the joints.
Compact the Pavers:
Run the plate compactor over the pavers to help settle the sand into the joints. Repeat the sanding and compacting process until all the joints are filled and the surface is smooth.
Step 8: Sealing (Optional)
Clean the Surface:
Clean your new pavement of any debris and residue.
Apply Sealer:
Apply a paver sealer to enhance the color of your pavers and to protect the surface from stains and weather conditions.
Conclusion
Congratulations! You’ve just installed a perfect paver setup that will beautify your home for years to come. Remember, Brilliant Paverss in Coimbatore is always here to assist, whether you need help selecting the right materials or have questions about the installation process. Visit our website at www.brilliantpaverss.in for more information or to consult with our experts. Your perfect outdoor space is just a paver away!


